PHOTOGRAMMETRIC ENGINEERING & REMOTE SENSING
January 2015
9
3D M
odels
of
S
tatues
The cemetery contains marble and granite statues and
tombstones (collectively referred to as monuments) dating
from the 1850s. All monuments are subject to weathering,
and some have been vandalized or damaged by falling tree
limbs or erosion. One act of vandalism scarred more than
70 monuments in one night (Banner-Herald, November
22, 1963). There is no photographic inventory of the
monuments in OHC. If an inventory is done in the future,
the value of the photographic record could be amplified by
taking overlapping images so they could later be converted
to three dimensional (3D) models using Structure from
Motion (SfM).
Structure from Motion (SfM) algorithms create 3D
models from a series of overlapping two dimensional (2D)
images (Szeliski and Kang, 1994). While initially used for
computer vision, SfM has been widely adapted for a variety
of applications, including cultural and historic preservation
(Westoby
et al.
, 2012). While images input to SfM software
have typically been acquired from handheld cameras, 3D
models recently have been created from images acquired from
unmanned aerial vehicles (Mancini
et al.
, 2013; Mathews
and Jensen, 2013; Zarco-Tejada
et al.
, 2014). Although SfM
can be used for multiple purposes (Stefanik
et al.
, 2011;
Westoby, Brasington, Glasser, Hambrey and Reynolds,
2012; Mathews and Jensen, 2013), our use was for the
creation of 3D models of individual statues. More rigorous
application would be capturing actual measurements and
textural variation. We only evaluated the ability to capture
measurements from a single statue.
We used AutoDesk 123D Catch (
)
online SfM software, since one of our objectives was to use
freely available software to introduce a local non-profit
comprised of volunteers as well as UGA students to developing
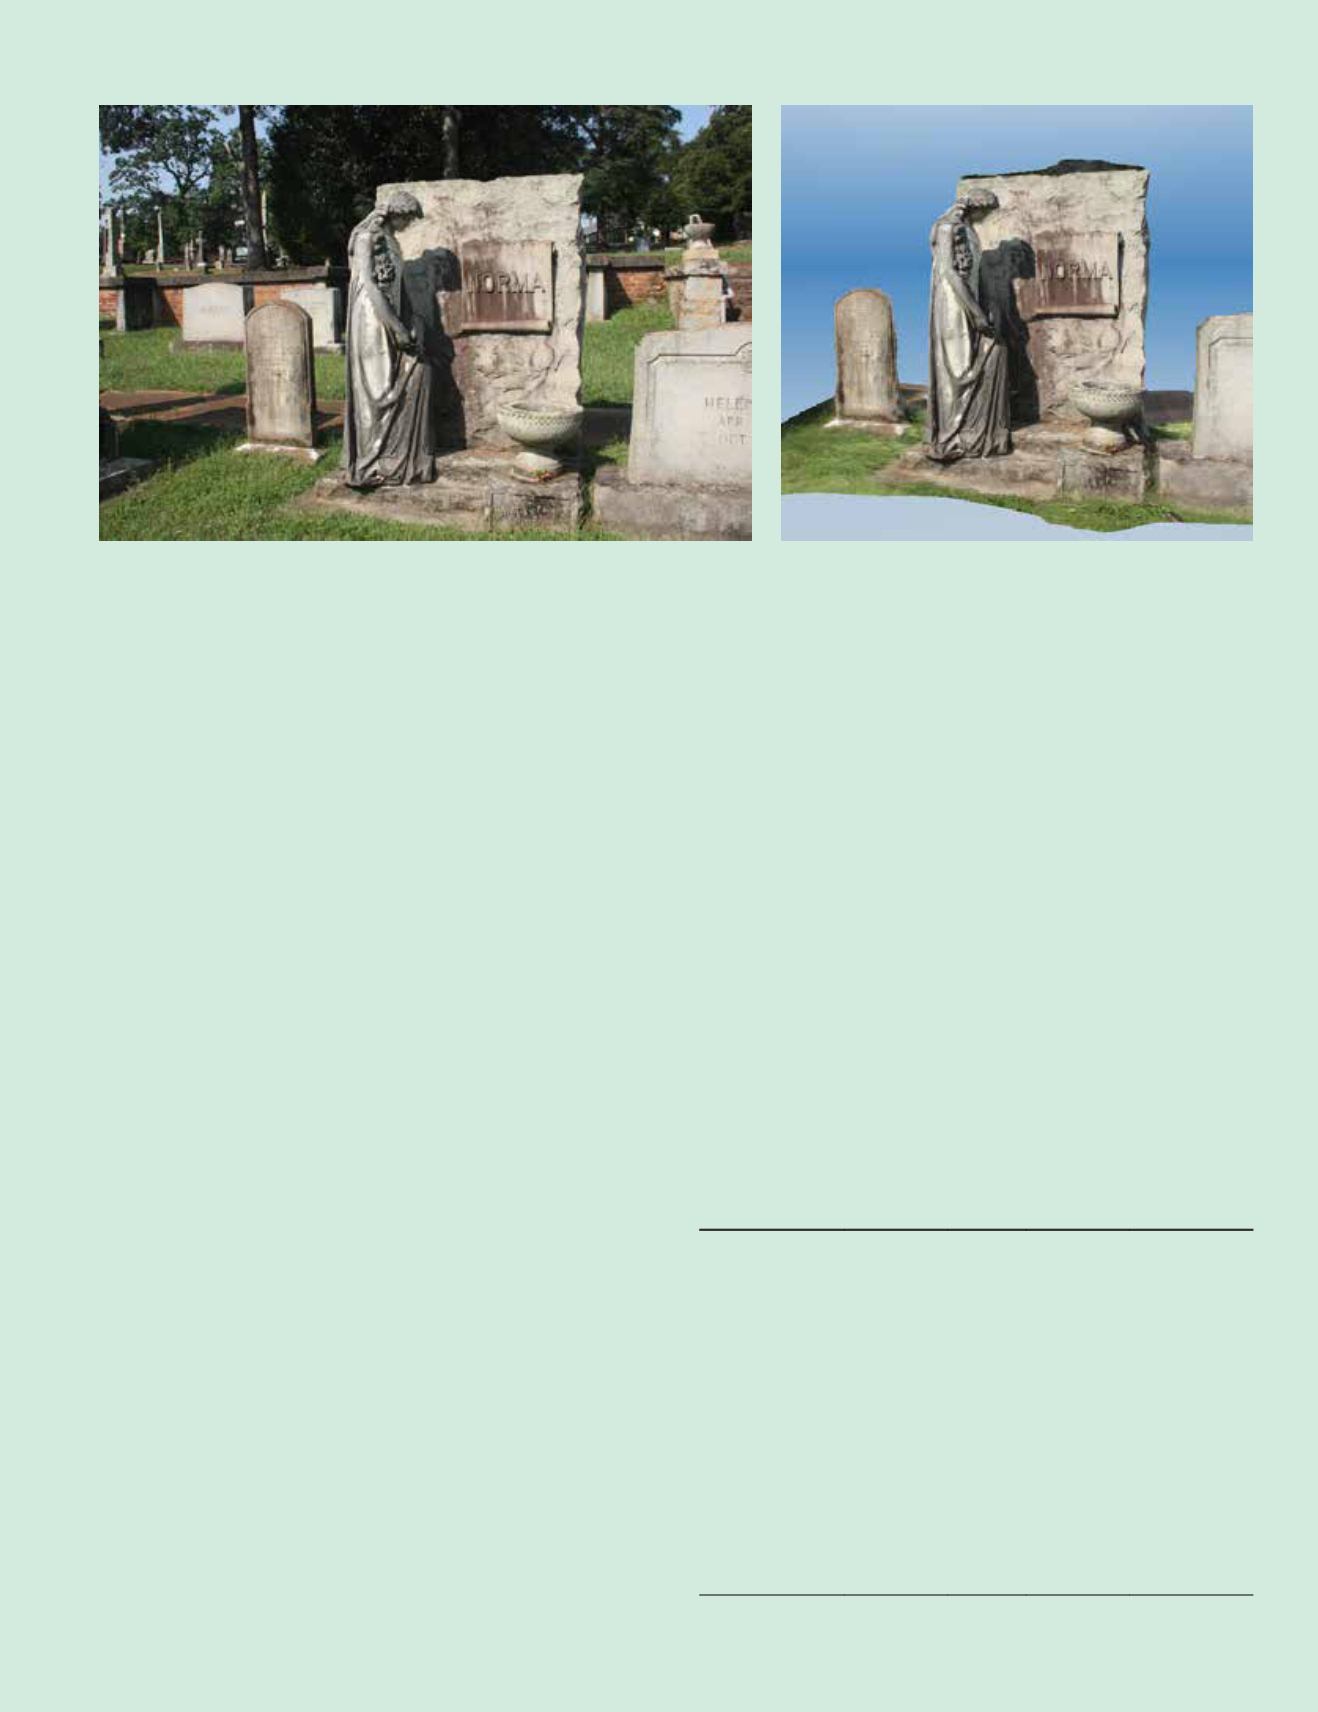
geospatial technologies. A high-resolution model was created
from a series of 33 photographs (Figure 4). The software
allows creation of a single scale measurement between two
3D points. We defined the scale of the model using a single
measurement of the width of the letter “M” within the name,
“Norma” on the model (90 cm). We measured 12 other features
on the 3D model that were relatively distinct and compared
these to the actual measurements from the statue (Table
1). All of the features lacked significant tonal differences,
and many of the edges were either rounded, rough-hewn,
or chipped, complicating placement of the marker at the
same point from different viewpoints. The 3D model and
actual measurements had an average difference of 3.3%. An
animation of the final model can be viewed at
crms.uga.edu/QRdocs/norma.avi.
Table 1. Comparison of 3D model measurements to actual measure-
ments, in cm.
Feature
3D model Actual Difference % Difference
Width “N”
61.8
60
1.8
3.0%
Width “O”
59.8
60
0.2
0.3%
Width “R”
63.5
60
3.5
5.8%
Width “A”
88.5
90
1.5
2.5%
Height “N”
104.9
104
0.9
0.9%
Height “O”
108.4
104
4.4
4.2%
Height “R”
107.2
104
3.2
3.0%
Height “M”
107.4
104
3.4
3.3%
Height of scroll
542.0
545
3.0
0,5%
Width of base
1664.4 1570
94.4
6.0%
Height 1
st
step 121.7
130
8.3
6.3%
Height 2
nd
step 125.2
130
4.8
4.0%
Figure 4. Digital photograph of monument (left) and three dimensional model (right) created from 33 images using free online version of
AutoDesk 123D catch (
.


