118
March 2018
PHOTOGRAMMETRIC ENGINEERING & REMOTE SENSING
G
uidelines on
I
nter
-S
wath
G
eometric
A
ccuracy
and
Q
uality
of
L
idar
D
ata
Introduction—Geometric Quality,
Calibration and the need to test
A dataset is said to have good geometric quality when
data
are produced using sensor models that are working as they
are mathematically designed, and data acquisition processes
are not introducing any unforeseen distortion in the data.
Good geometric quality ensures high positional accuracy. For
lidar data, high geometric quality ensures that data contains
consistent geospatial information in all dimensions, and
across the data extents.
Geometric quality of data is ensured by proper calibration of data
acquisition systems. Calibration ensures that the sensor is per-
forming according to manufacturer specifications. In general, a
laboratory calibration of instruments are usually performed by
the system/sensor manufacturer or the user either periodically
or based on usage. In some cases, in situ calibration or self-cal-
ibration procedures are used to determine sensor parameters
that use data collected in operational mode. These procedure
can be termed geometric adjustment procedures, and include
boresight parameter adjustment (termed boresight calibration).
It is recognized that lidar systems are of many types, and each
type may have different sensor models that demand different
geometric adjustment philosophies. Therefore, it is not the goal
of this document to discuss different geometric adjustment pro-
cedures for all the instruments, but to recommended processes
to test the quality of geometry. This means testing whether the
lidar point cloud data are consistent and accurate in horizontal
as well as vertical dimensions. “Quality Control (QC)” is used
to denote post-mission procedures for evaluating the quality of
the final Lidar data product (Habib et al., 2010). The user of the
data is more concerned with the final product quality, than the
system level Quality Assurance (QA) procedures that may vary
depending on the type of instrument in use.
The QC processes described in this document provide a meth-
od of assessing the relative horizontal, vertical and systemat-
ic errors in the data. The document introduces the following
to ensure geometric quality:
a) Inter Swath Data Quality Measures (DQMs)
b) Analysis of DQMs to quantify 3D and systematic errors
c) Summarizing the three errors (relative horizontal, rela-
tive vertical and systematic)
It is expected that the following procedures outlined in this
document can provide a more complete understanding of the
geometric quality of lidar data. Testing lidar data based on
the procedures outlined in the document will ensure that in-
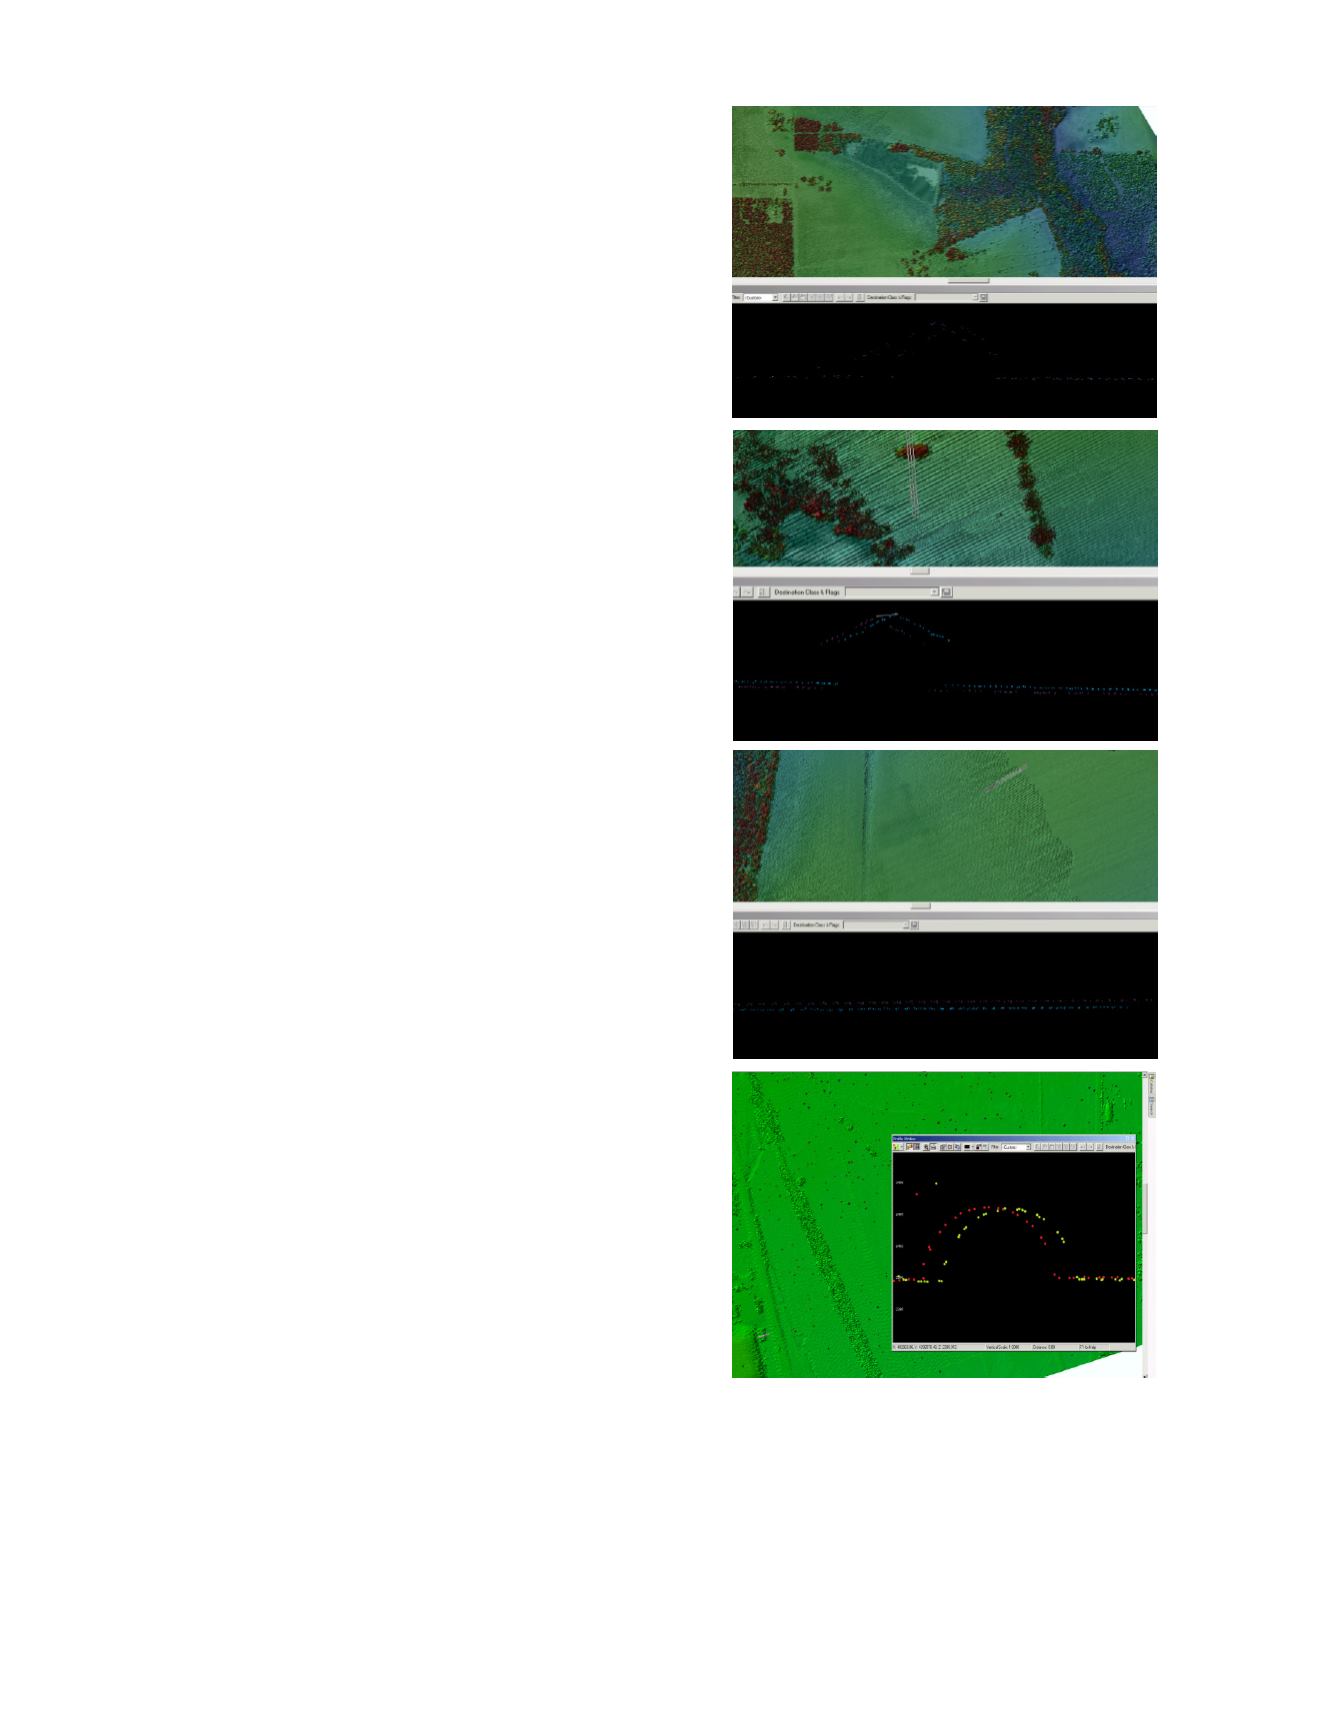
stances of poor geometric quality as shown in Figure 1 are
caught in an automated manner, without having to manually
view all of the delivered data, or understand the entire data
acquisition process and sensor models.
Figure 1: Errors found in swath data acquired by the US Geologi-
cal Survey, indicating inadequate geometric quality. The images
show profiles of objects in overlapping regions of adjacent
swaths.


